Picture One
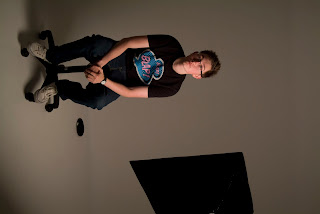
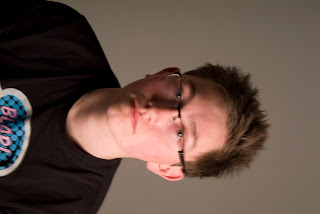
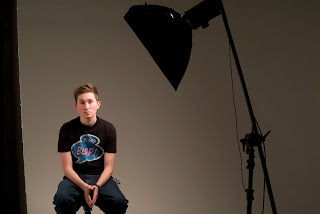
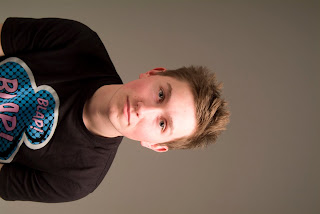
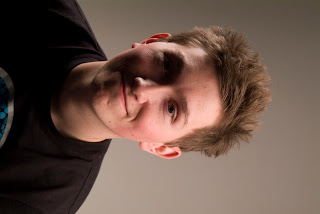
These two pictures of Ryan were shot at using 45 degree lighting. As you can see the right side of the face is slightly shadowedthis is due to the direction of where the light is travelling from. The camera was always set the same. The white balance was between 5000-6000 the F Stop was set at 5.6 and the ISO was always 100
Picture Two
In these examples the light is slightly higher up.The shadow on the face is minimal and the face is alot better lit
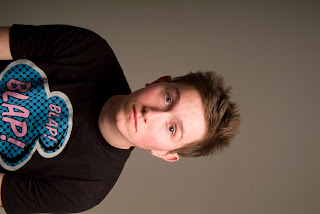
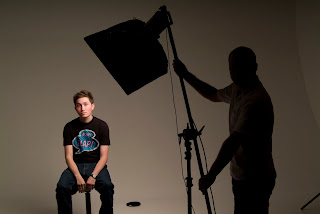
Picture Three
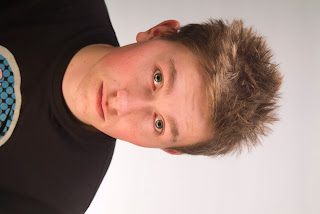
This photograph was taken with a white reflector panel next to Ryan, this time there is no shadow at all on the face. The Light is still coming in from the right hand side at a 45 degree angle.
Picture Four
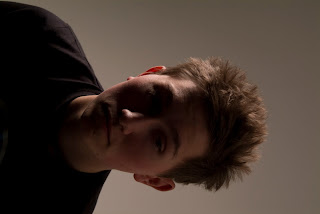
This Photo was taken just using a backlight on its own and a divider. This image is very dark allowing only a small amount of light on Ryan's face.
Picture Five
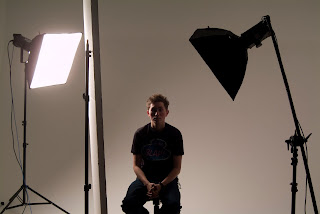
This time both back and front light were switched on and made the picture brighter. There is still some shadow on the face however.
Picture Six
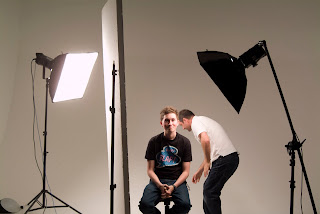
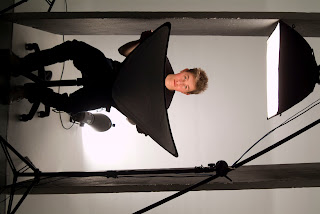
This shot was taken using two divider walls a top light and a reflector that Ryan was holding as we took the shot. Doing this enabled the face to be well lit
Hi Matt, this work from last year's interesting. Andy wants a detailed post for each of his sessions (check out the brief if you need a reminder of what you have covered). Cheers!
ReplyDelete