The shot below is in response to our other picture project which followed the word Treasure. I am a big Man United fan and i 'treasure' them. I do however think that i could have done so much more with the idea and i am disappointed in it. I held a season ticket for a season and i still have it at home, so maybe i could have used that in the picture instead or as well as the shirt and put more thought in to it.
Wednesday, 9 December 2009
Weekly Picture Project
This is the picture that i took for our weekly picture project. The Theme was English Breakfast. I think that i have followed the theme correctly and i am happy with the shot.
Camera/Lens Technique: Fast and slow shutter speeds
I took two photographs of a fan using both a fast and slow shutter speeds. For the slow shutter speed i set the camera to ISO 400 f 5.6 and the shutter speed was 1/40. The fan is seen spinning and slightly blurred.
Digital darkroom- Changing color settings
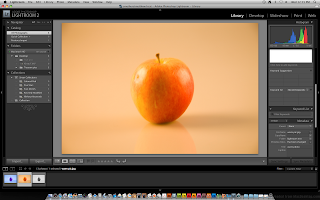
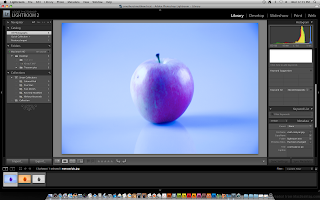
These 3 photographs are examples of different color balances you can do in Lightroom. If you go in to the develop menu you can chance the color by moving the slider. The grey balance photo was changed just by clicking the grey balance option. When i moved the slider to the left the image becomes cool and when i moved the slider on the tempreture bar to the right the image became warmer
Digital Darkroom- Putting a caption on a photograph
Tuesday, 8 December 2009
Studio Lighting Techniques
In Andy's lesson on the 14th of October we went in to the studio and using Russell as a model we took various shots of him in different lighting positions. Here are a few shots taken from that day
Shot One
For this shot there was a light shining in front of Russell's face and a side reflector was also used. The face is well lit as is the background. The settings used were f 5.3 and 1/125
Shot Two
Being in front of the window allows a good source of light to come in. There was a light shining in front of Russell. Two side reflectors were also used. This photo looks good and appears natural. The settings used were f 5.6 and 1/125
Shot Three
This time there was no light and we just used the light from the windows to light Russell as well as the reflectors. The image is a lot darker in his face. The settings were F 5.3 and 1/125 shutter speed.
Shot Four
For this shot a flourecent light was put to the right hand side of Russell's face. This obviously only lit half of his face and the other side is shadowed and very dark. The settings didn't change and stayed at F 5.3 and 1/125 shutter speed.
Shot Five
Wednesday, 2 December 2009
Bottle Photographs (Studio)
For part of Andy's brief we had to take some Photographs in the studio of a green bottle and use the following light sources. Softbox (Masked), Honeycomb, Umbrella and Beauty Dish. Here is what i produced.
Soft-box (Masked)
The settings i used to take this shot were ISO 100 f 5.6 and 1/80. I put the soft box to the left of the bottle which creates a small shadow to the right hand side of the bottle
Umbrella
To create this shot i placed a umbrella in front of the light source and reversed the light to face the bottle. The settings used were ISO 100 F 5.6 1/40
Beauty Dish
Honeycomb
Monday, 30 November 2009
Fruit Pictures
For part of Andy's Brief we had to take various photographs of a fruit using various forms of lighting. These were 45/45, High key, Low key, Backlight and Top light.
 For this shot i placed a flash light underneath the object and set the camera to F 5.6 and the shutter speed was 0/3
 For this shot i positioned the light above the object. The settings for this shot were again F 5.6 and 0/3
 I used 2 lights on this shot. One light source coming from either side of the object and turned the power on the lamp up to make it brighter. The settings used here were F 6.3 and the shutter speed was 1/50
Here is what i took in the studio.
45/45 Lighting
Backlight
 For this shot i placed a flash light underneath the object and set the camera to F 5.6 and the shutter speed was 0/3
Top Light
 For this shot i positioned the light above the object. The settings for this shot were again F 5.6 and 0/3
High Key
 I used 2 lights on this shot. One light source coming from either side of the object and turned the power on the lamp up to make it brighter. The settings used here were F 6.3 and the shutter speed was 1/50
Low Key
Tuesday, 24 November 2009
Natural Lighting Techniques
Aftershave Bottles


Here are some examples of photographs that i have taken of an Aftershave bottle. The majority of shots were taken in the studio but there are some shots with Natural lighting. For the purpose of this exercise the ISO was 400 but the camera setting was av.
Some shots were better than others. The first few shots just had a light underneath the light table and don't give much light at all. The latter shots had a top light as well as the light underneath and support each other very well and gave a good light source
The Natural Lighting source wasn't that successful, they are very dark


Wednesday, 18 November 2009
The Macro Lesson
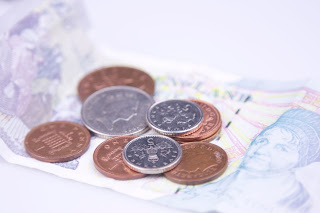
This afternoon in Andy's lesson we have been looking at some macro photographs. we took photo's of watches, money and even a fly. The idea was that the image was really close up. I had a lens with macro facilities but i would have been better off with a proper macro lens to get the proper effect of what we were trying to capture. In the morning session with John we had a brief photoshop refresher session looking at layers on a photo that you can mess around with to change colors. I have used this feature on photoshop before but found a refresher session useful as all my previous knowledge came back to me
This image was supposed to be macro but it wasn't taken with a proper macro lens and isn't really a very good example of macro

Tuesday, 17 November 2009
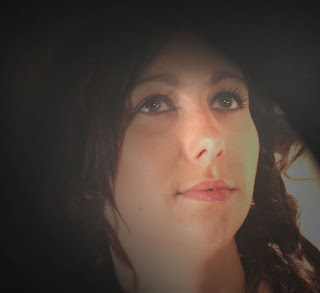
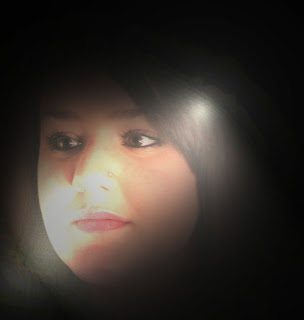
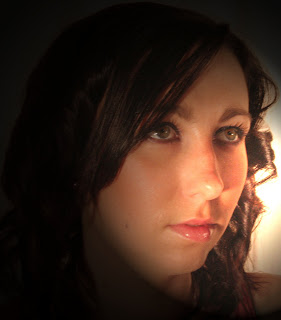
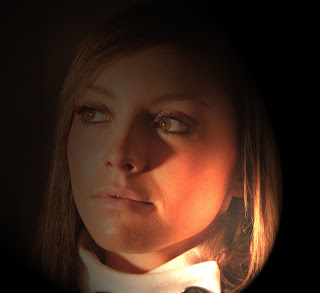
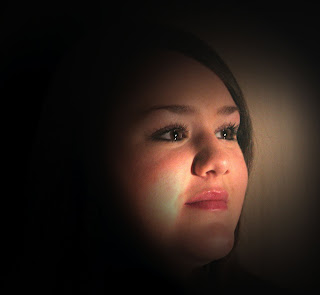
These are 5 Photographs that i took last year for my final major project, it was hard work but i think that the photo's have come out quite well. I researched fashion magazines and looked at how models were photographed and looked at other photographers work like Nick Knight who worked on Vogue magazine.
Lighting Techniques Lesson one
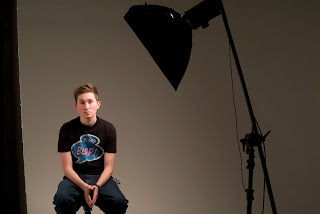
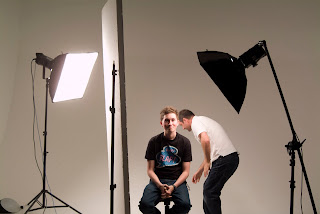
Over the past few weeks in Andy's lesson on wednesday afternoons we have been looking at various lighting techniques in preparation for our brief. We have to photograph a fruit such as a pear, and also a bottle as well. The idea then is that we move the light source and then in each picture the fruit will look different. This picture was taken in one of Andy's sessions when we were going through different lighting teqniques using Ryan as a model moving the light source in different positions
Picture One
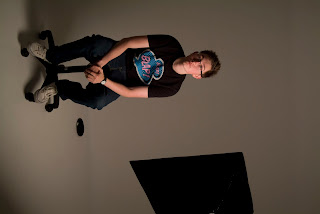
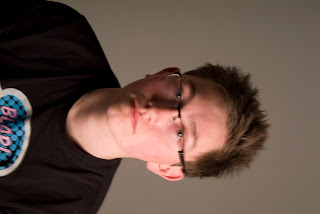
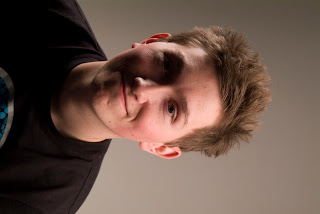
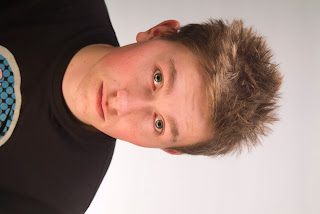
These two pictures of Ryan were shot at using 45 degree lighting. As you can see the right side of the face is slightly shadowedthis is due to the direction of where the light is travelling from. The camera was always set the same. The white balance was between 5000-6000 the F Stop was set at 5.6 and the ISO was always 100
Picture Two
In these examples the light is slightly higher up.The shadow on the face is minimal and the face is alot better lit
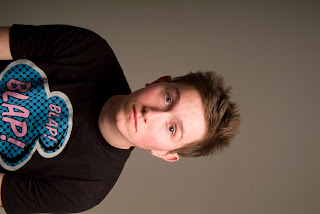
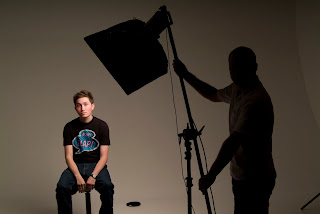
Picture Three
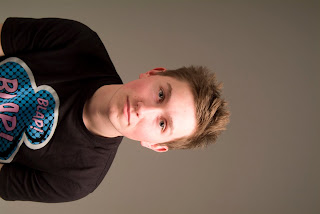
This photograph was taken with a white reflector panel next to Ryan, this time there is no shadow at all on the face. The Light is still coming in from the right hand side at a 45 degree angle.
Picture Four
This Photo was taken just using a backlight on its own and a divider. This image is very dark allowing only a small amount of light on Ryan's face.
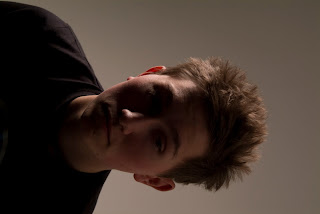
Picture Five
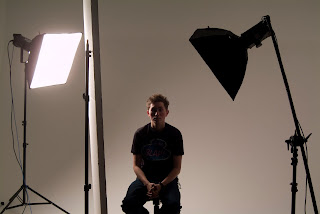
This time both back and front light were switched on and made the picture brighter. There is still some shadow on the face however.
Picture Six
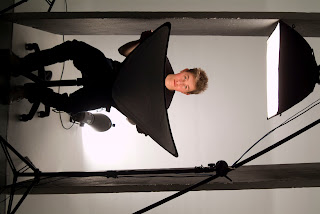
This shot was taken using two divider walls a top light and a reflector that Ryan was holding as we took the shot. Doing this enabled the face to be well lit
Picture One


These two pictures of Ryan were shot at using 45 degree lighting. As you can see the right side of the face is slightly shadowedthis is due to the direction of where the light is travelling from. The camera was always set the same. The white balance was between 5000-6000 the F Stop was set at 5.6 and the ISO was always 100
Picture Two
In these examples the light is slightly higher up.The shadow on the face is minimal and the face is alot better lit


Picture Three
This photograph was taken with a white reflector panel next to Ryan, this time there is no shadow at all on the face. The Light is still coming in from the right hand side at a 45 degree angle.


Picture Four
This Photo was taken just using a backlight on its own and a divider. This image is very dark allowing only a small amount of light on Ryan's face.


Picture Five
This time both back and front light were switched on and made the picture brighter. There is still some shadow on the face however.


Picture Six
This shot was taken using two divider walls a top light and a reflector that Ryan was holding as we took the shot. Doing this enabled the face to be well lit


Subscribe to:
Comments (Atom)


